
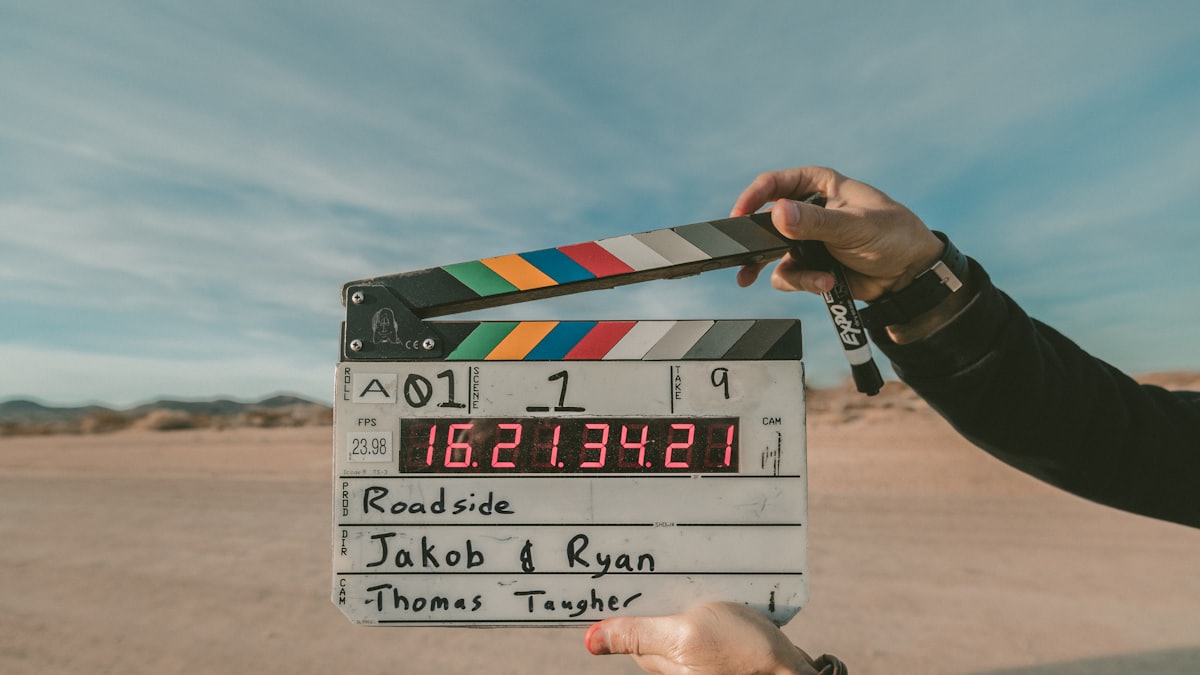
Not long ago, "making a video" meant a camera, a location, lighting, and hours in an editor. For a lot of what we actually need video for—an explainer, a product teaser, a social clip, a mood piece—that overhead is wildly out of proportion to the job. Text-to-video generation collapses it. You describe a scene in words, and a model synthesizes the footage.
This guide is for marketers, creators, and founders who have an idea and a script but no film crew. You do not need to understand the model architecture; you need to know how to describe a shot well, how to build several shots into something coherent, and how to finish the result so it looks deliberate rather than random.
We will go from a single idea to an exported clip: planning your scenes, writing prompts that produce usable footage, keeping style consistent across shots, and adding the voice and music that turn raw generations into a finished video.
What you'll need
- A clear concept and a rough script. Even one or two sentences per scene. Know the story before you generate.
- A text-to-video tool that supports prompt-to-video generation, scene control, and export—such as the SmileToAI AI Video Creator.
- A visual style in mind. Cinematic, animated, clean corporate, retro—pick one and commit to it across every scene.
- Optional finishing tools. An AI voiceover tool for narration and a basic editor for trimming, captions, and music.
Step 1: Break your idea into scenes
A single prompt rarely produces a whole video, and it shouldn't. Think in scenes, the way a storyboard does. Write a one-line description for each shot before you generate anything.
For a 20-second product teaser you might plan:
- Wide shot of a modern kitchen at dawn, soft light through a window.
- Close-up of a coffee machine switching on, steam rising.
- A hand lifting a full cup, warm morning glow.
- Product logo on a clean background, gentle fade-in.
This scene list is your map. It keeps each generation short and focused—which is where models perform best—and it forces you to think about pacing and story before you burn time on rendering. It also makes reshoots cheap: if scene 2 drifts, you regenerate just scene 2.
Step 2: Write prompts that describe motion, not just a picture
Video prompts need everything an image prompt has—subject, setting, lighting, style—plus motion and camera behavior. A still-image description will give you a barely-moving frame. Describe what changes over the few seconds of the clip.
A strong scene prompt looks like:
Cinematic wide shot of a modern kitchen at dawn, soft golden light streaming through a large window, slow camera push-in toward the counter, dust particles floating in the light, shallow depth of field, warm color grade, photorealistic.
The load-bearing words are the motion cues: "slow camera push-in," "dust particles floating." If your prompt-craft feels familiar, it should—it builds directly on text to image prompting, with movement added. Keep each scene's action simple; asking for too many simultaneous actions is a reliable way to get an incoherent result.
It helps to think in three layers when you write a scene prompt. First, the shot: what the camera frames and how it moves ("cinematic wide shot," "slow push-in," "handheld tracking shot"). Second, the subject and action: one clear thing happening ("steam rising from a coffee machine"). Third, the look: lighting, color, and style tags you'll reuse everywhere. Keeping these layers distinct makes it easy to change one without breaking the others—if the motion is too fast, you edit only the shot layer and leave the subject and look untouched.
Step 3: Lock a consistent style across every scene
The fastest way to make an AI video look amateur is to let each scene render in a different style—one cinematic, one cartoonish, one washed out. Decide the look once and repeat the same style language in every prompt.
Practical tactics:
- Reuse a style phrase verbatim. Append the same "…warm color grade, photorealistic, cinematic" tag to every scene prompt.
- Reuse subject descriptions word for word. If a person appears in multiple scenes, describe them identically each time ("a woman in a mustard-yellow raincoat, short dark hair") so they don't morph between shots.
- Use a storyboard or reference where available. Tools that let you pin a reference image or work scene-by-scene on a storyboard make consistency far easier than one-off generations.
If your video centers on a person talking to camera, an AI avatar—a synthetic presenter—can hold identity steady across a whole script far more reliably than regenerating a face in each freeform scene. That is a purpose-built solution for talking-head content, distinct from freeform scene generation.
Step 4: Generate, review, and regenerate the weak scenes
Generate each scene, then watch them at full speed in sequence. AI video benefits from selection: produce two or three takes of any scene that matters and keep the best. Watch specifically for the failure modes models are prone to—warping objects, flickering textures, hands and faces that morph, and motion that speeds up or stutters.
When a scene misses, change one thing at a time. Simplify the motion, shorten the described action, or adjust the camera move before overhauling the whole prompt. Keep the scenes that already work; only re-roll the ones that don't. Assemble the approved clips in order on a timeline so you can feel the pacing—often you'll trim a beat here or extend a hold there.
Pacing is where a lot of AI videos quietly fall apart, so watch for it specifically. Generated clips often start or end with a beat of dead motion; trimming those tops and tails tightens the whole edit. Vary your shot lengths—holding every scene for the same duration feels mechanical, while alternating longer establishing shots with quick cuts creates rhythm. And cut on motion where you can: transitioning from one clip to the next while something is already moving hides the seams between separately generated scenes far better than cutting on a static frame.
Step 5: Add voice, music, and captions to finish
Text-to-video generates visuals, not sound. The finishing layer is what makes a clip feel produced. Add three things:
- Narration. Feed your script to an AI voiceover tool and drop the audio over the visuals. Our companion guide on adding an AI voiceover to YouTube videos walks through the voice side in detail.
- Music and sound design. A single well-chosen background track dramatically raises perceived quality. Keep it low under narration.
- Captions. A large share of social video is watched muted. Burned-in or soft captions keep viewers engaged and widen accessibility.
Then export at the resolution and aspect ratio your destination wants—vertical 9:16 for Shorts, Reels, and TikTok; 16:9 for YouTube and embeds.
Common mistakes to avoid
- One prompt for the whole video. Plan scenes and generate short clips; long single generations lose coherence.
- Static prompts. If you don't describe motion and camera movement, you get a near-frozen frame.
- Style drift. Not repeating the style and character descriptions is what makes scenes feel unrelated.
- Over-busy scenes. Too many simultaneous actions overwhelm the model. One clear action per shot reads better.
- Forgetting audio. Silent AI footage feels unfinished; narration and music do a lot of the perceived-quality work.
Wrapping up
Making a video from text is really a small pipeline: break the idea into scenes, prompt each one with clear motion and a locked style, keep the takes that work, and finish with voice, music, and captions. Approach it that way and a written idea becomes a shareable clip in an afternoon—no crew, no location, no reshoot logistics.
To try the visual side, the SmileToAI AI Video Creator generates scenes from prompts on a storyboard, keeps characters and products consistent with reference images (or a brand kit pulled from your website), and lets you set, trim, or extend each shot's length and reorder shots before it exports a ready-to-share clip. Shots join with straight cuts, so the cut-on-motion advice in Step 4 still does the transition work. Pair it with a strong voiceover and you have a complete, repeatable way to produce video at the speed your content calendar actually demands.
FAQ
How long can an AI-generated video be?
Most text-to-video models generate short clips—often a few seconds per generation—because coherence gets harder over longer spans. The practical approach is to generate multiple short scenes and stitch them into a longer sequence on a storyboard or timeline, rather than expecting one prompt to produce a full two-minute video.
Can I make an AI video without any footage or actors?
Yes. Text-to-video generates the visuals from your description alone, so you do not need a camera, footage, or actors. You supply a prompt describing the scene, subject, motion, and style, and the model synthesizes the frames. You can add narration and music afterward to finish it.
How do I keep the same character or style across scenes?
Consistency is the hardest part of AI video. Reuse the exact same descriptive phrasing for the character and setting in every scene prompt, lock a single visual style, and where the tool allows it, use a reference image or storyboard so each scene inherits the same look. Expect to regenerate scenes that drift.
Do AI videos come with sound?
Usually not by default—text-to-video models generate visuals, not audio. You add a voiceover and music as a separate step. An AI voiceover tool can narrate your script, and you layer background music and sound effects during the final edit.