
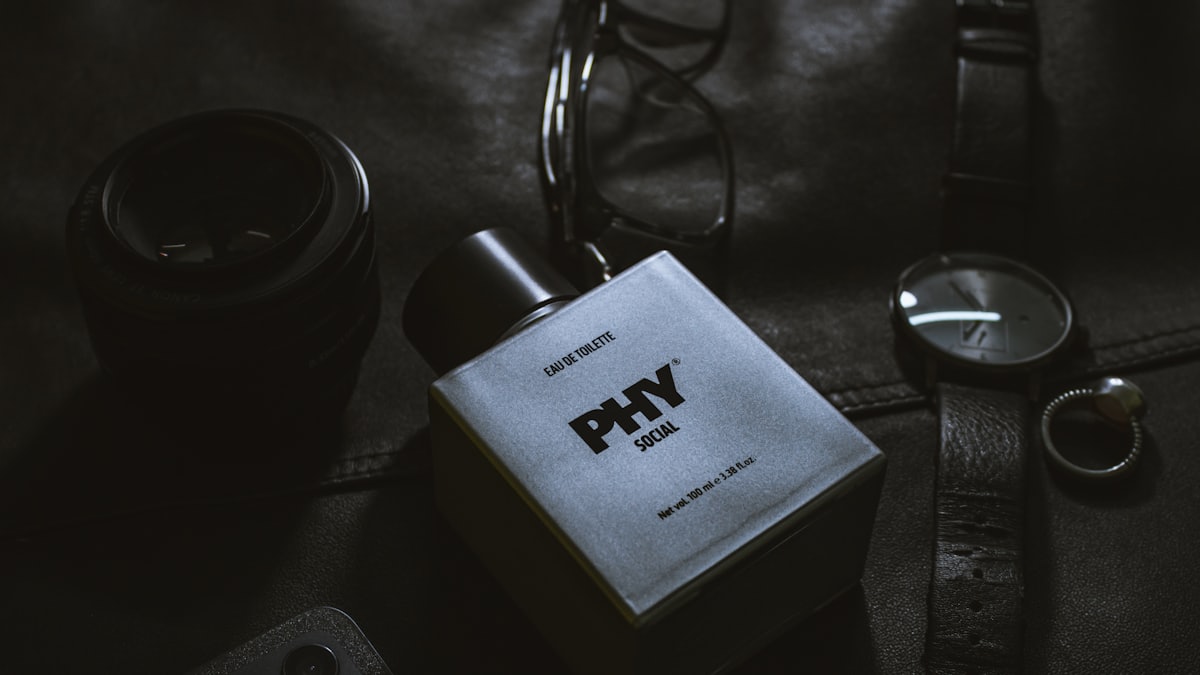
A great product photo does a lot of quiet work. It communicates quality, sets a price expectation, and either earns a click or loses one. For a long time, getting those photos meant a studio, a lighting rig, a photographer, and a turnaround measured in days—per product. If you sell forty SKUs, that math gets painful fast.
AI image generation changes the economics. You can now produce clean catalog shots, lifestyle scenes, and seasonal variations from a text prompt, iterate on them in seconds, and only involve a camera when you genuinely need one. This guide is for founders, marketers, and store owners who want usable product images today—not a research paper on diffusion models.
We will walk through the full workflow: preparing your input, writing prompts that actually produce commercial-grade shots, dialing in settings, and finishing the image so it holds up on a product page. The steps apply to any capable AI image tool, and we will point out where SmileToAI fits naturally.
What you'll need
- A clear idea of the shot. White-background catalog image? Lifestyle scene on a kitchen counter? Know the goal before you prompt.
- A reference image of your product (recommended). A phone photo on a plain surface is enough. This keeps the shape and branding accurate.
- An AI image tool that supports text-to-image generation, style control, and high-resolution output—such as the SmileToAI AI Image Generator.
- Your brand basics. Primary colors, the mood you want (premium, playful, minimal), and where the image will be used (marketplace, ad, social).
Step 1: Define the shot before you touch a prompt
Vague inputs produce vague images. Before writing anything, decide four things: the product, the surface or setting, the lighting, and the camera angle. A useful mental template is "product on surface, lighting, angle, style."
For a catalog shot you might land on: matte ceramic mug, seamless white studio backdrop, soft diffused lighting, straight-on eye-level angle, clean e-commerce style. For a lifestyle shot: the same mug on a light oak table beside a laptop, warm morning window light, slight three-quarter angle, cozy editorial style.
Write these down. They become the backbone of your prompt and, just as importantly, keep your whole catalog visually consistent when you reuse the same lighting and angle across products.
Step 2: Write a prompt that reads like a photo brief
Treat the prompt like instructions to a photographer, not a wish. Name the subject, the setting, the light, the lens feel, and the mood. Here is a catalog prompt you can adapt:
Product photo of a matte black insulated water bottle, centered on a seamless pure white background, soft even studio lighting, subtle contact shadow, straight-on eye-level angle, sharp focus, high detail, professional e-commerce style.
And a lifestyle variant:
A matte black insulated water bottle on a light wooden gym bench, morning sunlight from the left, shallow depth of field, blurred background, warm and energetic mood, editorial product photography.
Notice what these prompts do: they specify the background explicitly ("seamless pure white"), describe the light direction, and set a style. This is the same specificity that separates a strong text to image result from a generic one. Add a short negative prompt where the tool supports it—for example, avoiding "text, watermark, extra objects, distorted shape"—to cut common artifacts.
Step 3: Anchor accuracy with a reference image
Text alone will invent a plausible bottle, not your bottle. If you are selling a specific item, start from a real photo. Many tools let you upload a reference and generate new scenes around it, preserving the product's actual shape, color, and label while replacing the background and lighting.
This is exactly the job of dedicated background tools. Product Backgrounds—coming to SmileToAI—is designed to drop your real product into studio or lifestyle scenes with realistic shadows and reflections, which is the reliable way to keep branding intact. Until a purpose-built background tool is in your stack, upload your reference into a general image generator and prompt for a new background and lighting rather than a new product.
Do keep the product recognizable. Don't let the model redraw your logo or packaging text from scratch—it will hallucinate letters. Composite real label art back in during finishing if precise branding is required.
Step 4: Generate variations and dial in settings
Never judge from a single render. Generate four to eight variations of the same prompt and compare. Small wording changes ("soft lighting" vs. "dramatic side lighting") shift the result more than you expect, and variety is free.
Pay attention to two settings that most affect quality:
- Resolution / output size. Generate at the highest resolution the tool offers, then downscale for the web. Upscaling a small image later loses detail.
- Style presets or guidance strength. Higher guidance sticks tightly to your prompt; lower guidance gives the model more creative latitude. For consistent catalog work, favor tighter guidance and a fixed style preset so shot ten looks like shot one.
Keep a short "recipe" note of the prompt phrasing, style preset, and settings that worked. Reusing it is how you get a coherent catalog instead of forty images that feel unrelated.
Step 5: Finish for print and platform resolution
A web thumbnail and an Amazon zoom image have very different resolution needs—Amazon recommends the longest side be at least 1600px so buyers can zoom. If your generated image is smaller or slightly soft, run it through AI image upscaling to enlarge it while recovering detail, rather than stretching it in an editor and getting mush.
Then do a final pass: crop to the marketplace's aspect ratio, check the background is truly pure white where required (sample the corner pixels), and confirm any real label art is sharp and legible. Export in the format the platform wants—usually JPEG for photos, PNG when you need transparency.
Common mistakes to avoid
- Prompting for legible text or logos. Models garble small type. Add real label art in post instead of trusting the render.
- Judging one render. Always generate a batch and pick the best; the first output is rarely the strongest.
- Ignoring shadows. A product floating with no contact shadow looks pasted on. Ask for a "subtle contact shadow" to ground it.
- Inconsistent lighting across the catalog. Reusing one lighting and angle recipe is what makes a set look professional.
- Misrepresenting the product. Enhancing presentation is fine; changing the color, size, or included parts is not. It breaks trust and can violate marketplace rules.
Wrapping up
AI product photography is less about one magic prompt and more about a repeatable recipe: define the shot, brief it precisely, anchor accuracy with a reference, generate variations, and finish at the right resolution. Get that loop tight and you can shoot an entire catalog in an afternoon and refresh it for every season or promotion without rebooking anything.
If you want to try it now, the SmileToAI AI Image Generator gives you fast text-to-image generation with style control and high-resolution output—a solid starting point for catalog and lifestyle shots. And once you have strong product visuals, the natural next step is putting them in motion, which is exactly what making AI videos from text covers.
FAQ
Can AI product photos be used on Amazon?
Yes, with care. Amazon's main product image must show the actual product on a pure white background (RGB 255,255,255) with no added text, logos, or props. AI-generated white-background shots can meet that spec, but the product itself must be represented accurately—Amazon prohibits misleading imagery. Use AI freely for secondary lifestyle images, and keep at least one honest photo of the real item.
Do I need a real photo of my product to start?
Not always. If your product is simple or you are exploring concepts, a text-only prompt can produce a convincing shot. But if you are selling a specific item, start from a real photo so the shape, label, and proportions stay accurate. Tools that place your existing product into new scenes give you photorealistic results without re-inventing the product.
Why do AI product photos look fake or distorted?
The usual causes are vague prompts, missing lighting direction, and asking the model to invent fine detail like text on packaging. Be specific about the surface, lighting, and camera angle, generate several variations, and avoid relying on the model to render legible logos or small print—composite those in afterward if accuracy matters.
Is it legal to sell products using AI-generated photos?
Generally yes, but the image must accurately represent what the customer receives. Misleading imagery can violate consumer-protection rules and marketplace policies regardless of how it was made. Treat AI photos the same way you would treat heavily retouched studio photos: enhance presentation, never misrepresent the product.