
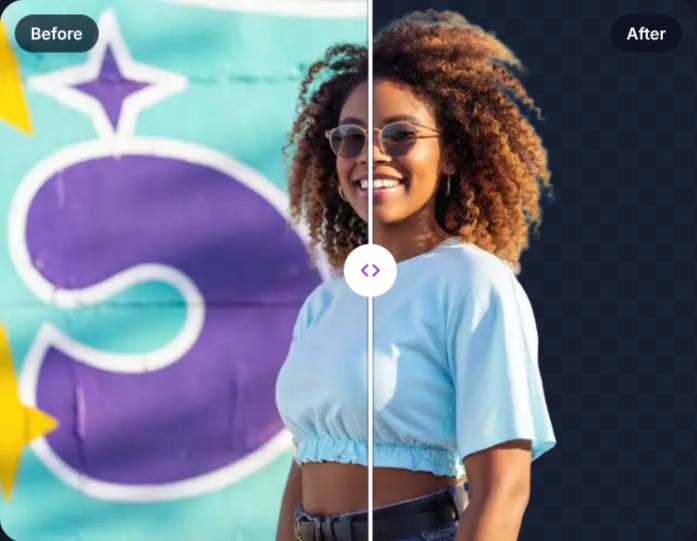
To make a background transparent, remove it with a background-removal tool and save the result as a PNG, the common image format that stores transparency. With SmileToAI's free background remover that takes four steps: pick a Quality, choose your image (PNG, JPG, GIF or WebP, up to 20 MB), compare Before and After with the slider, and select Sign up free & download to save the full-resolution transparent PNG. You can see the result without an account. A free account unlocks the full-resolution file.
The tool uses a dedicated AI matting model rather than a colour picker, so it separates the subject from the background by what the subject is, not by one background colour. That is why it keeps hair, fur and soft edges that a "magic wand" selection usually chops off, and returns a soft, partly transparent edge instead of a hard outline.
This guide walks through the whole job. It covers what "transparent" really means in an image file, how to get a clean cutout, how to check it, and how to keep the transparency intact when you place the image in a slide, document or website.
What a transparent background actually is
Every pixel in an image has a colour. Some formats also store a fourth value for each pixel, called alpha, that says how opaque it is. A pixel with zero alpha is fully see-through, so whatever sits behind the image shows through it. That is a transparent background.
Two things follow from this:
- The format decides whether transparency survives. PNG, GIF and WebP can store alpha. JPG cannot, so a transparent area saved as JPG is filled in, usually with white or black.
- Good edges are partly transparent. Around hair, fur or a soft shadow, the best cutouts use in-between alpha values, so strands blend into any new background instead of showing a hard, jagged outline.
SmileToAI's background remover always returns a PNG, so the alpha channel is kept.
What you'll need
- The image, as a PNG, JPG, GIF or WebP file up to 20 MB.
- A web browser. The background remover is a web page at /tools/background-remover, so there is nothing to install. It is built for the web; this guide does not cover the SmileToAI mobile app.
- A free SmileToAI account, only when you are ready to download the full-resolution result.
Step 1: Pick a Quality setting
Open the SmileToAI background remover. Before you upload, choose a Quality:
- Best quality (the default): the most detailed model. Start here for people, pets, hair and anything with fine edges.
- Balanced: a lighter model, a good middle ground.
- Faster: the quickest option. It is fine for a quick look, but check its result closely before you use it (see the worked example below).
If you are not sure, leave it on Best quality.
Before you upload anything, the page also shows a strip of example results under the comparison. Click through them to see how the tool handles jewellery, food, people and products.
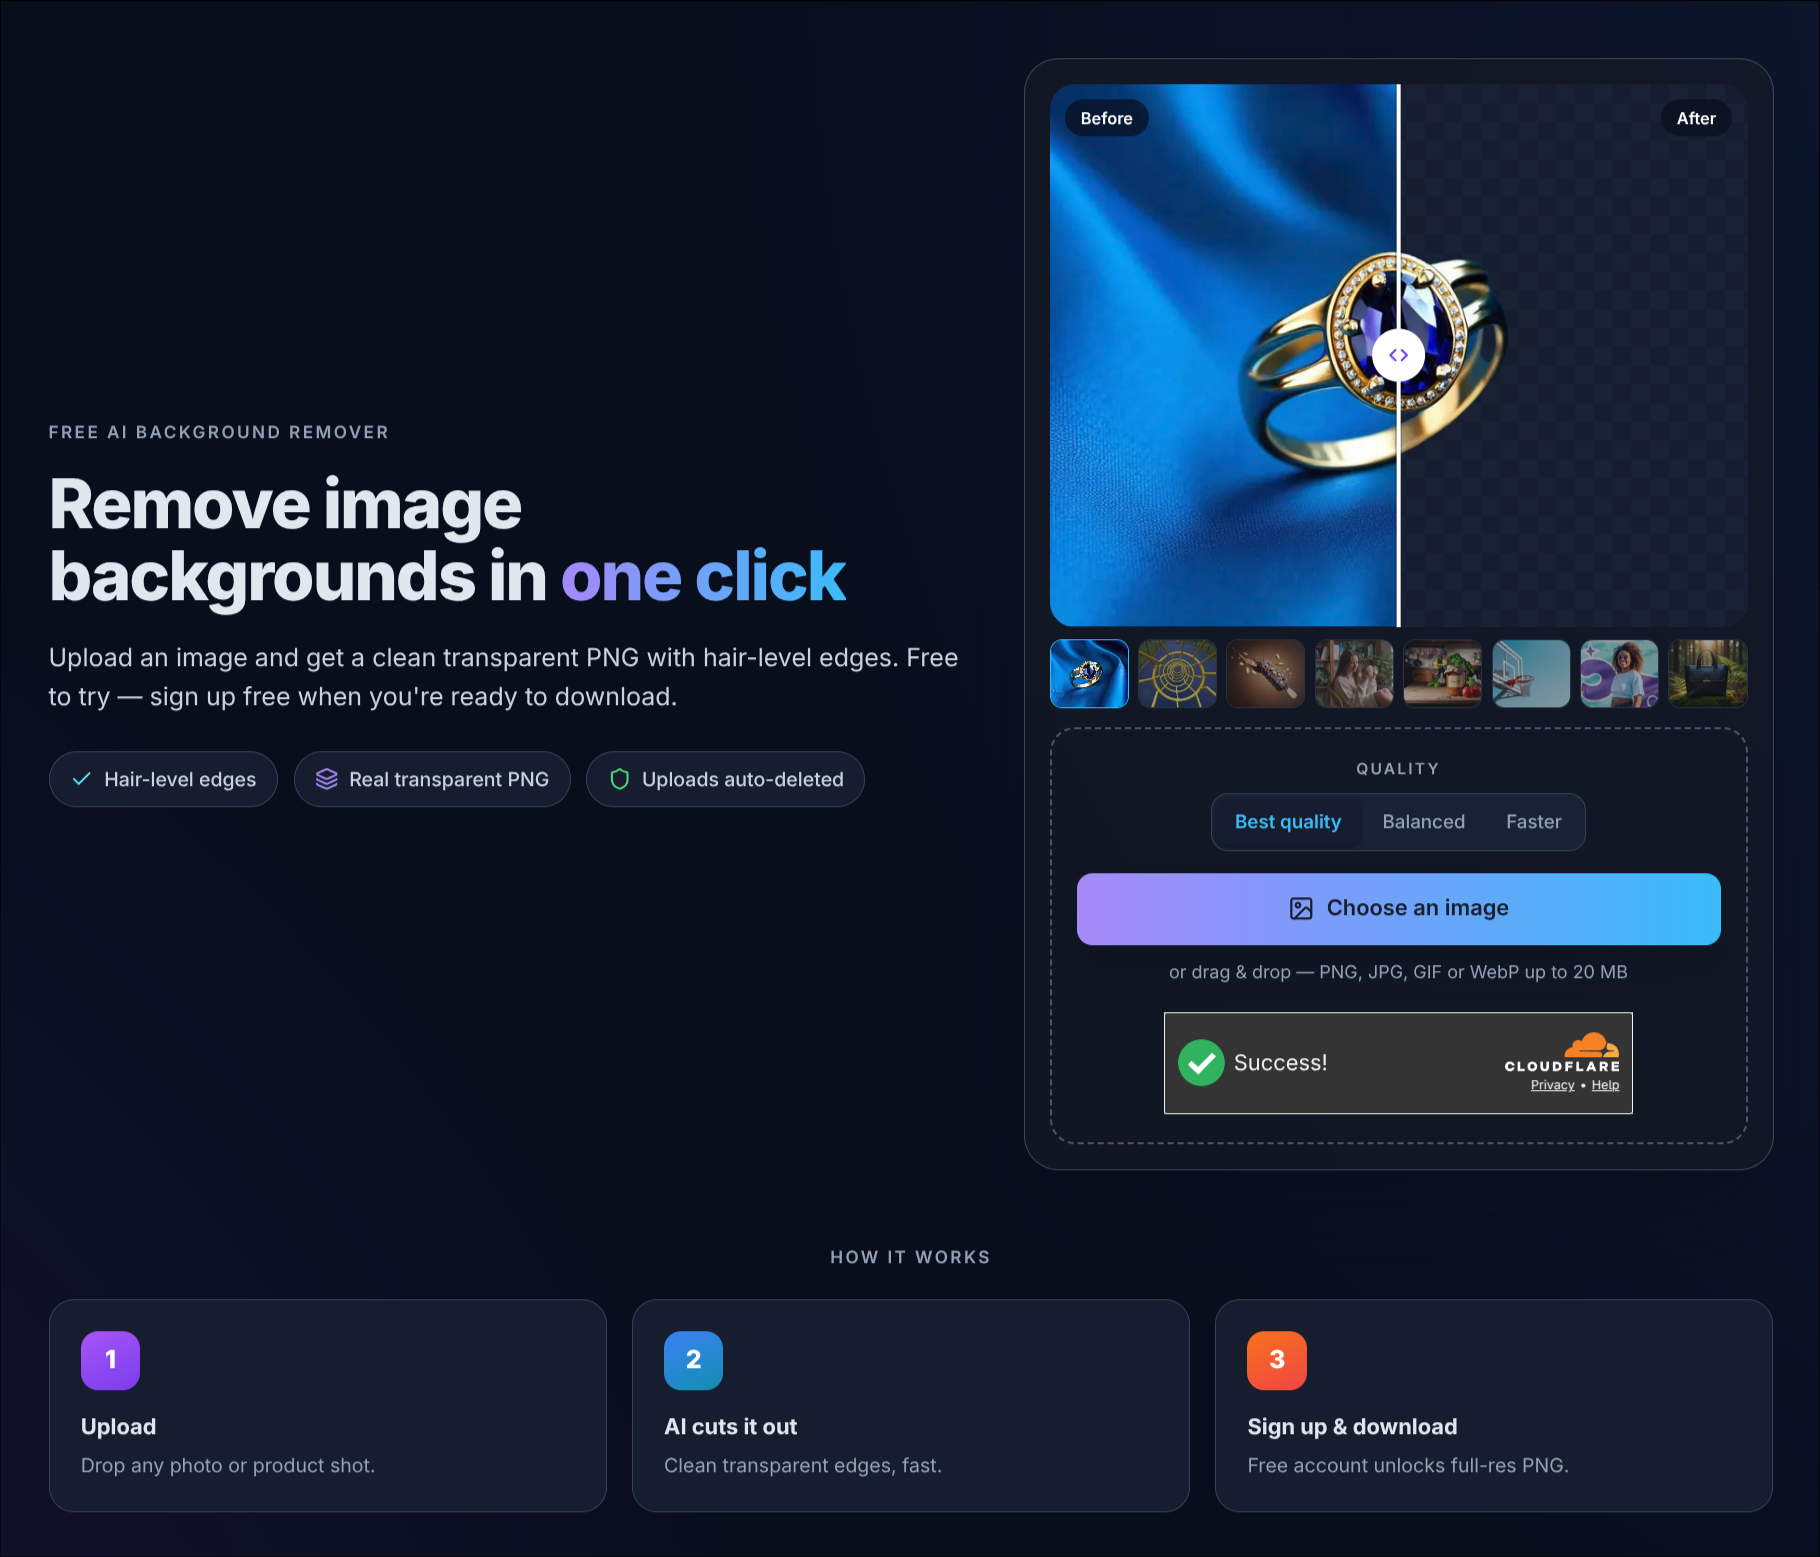
The background remover before you upload, without an account. Quality sits above the upload button and is set to Best quality. The example strip sits under the Before and After comparison.
Step 2: Upload your image
Select Choose an image, or drag and drop the file onto the page. The tool accepts PNG, JPG, GIF and WebP files up to 20 MB, one image at a time.
While it works, the page shows "Removing background…". It usually takes a few seconds.
A few things help the model before you even upload:
- Use the largest version of the image you have. More pixels around an edge give the model more to work with.
- Crop out what you don't need. If you only want one person from a group photo, crop close to them first so the model knows which subject matters.
- Avoid heavy compression. A screenshot of a screenshot has blocky artefacts around edges that can end up in the cutout.
Step 3: Check the cutout
The result opens in a comparison labelled Before and After, with the cutout shown over a transparency checkerboard. The checkerboard is not part of your image. It is the conventional way to show "nothing here", so every square you can see is a transparent pixel.
Drag the handle across the image, or use the left and right arrow keys, and look at:
- The outline. Follow the edge of the subject all the way around. It should be smooth, with no leftover strip of the old background.
- Hair, fur and fine detail. Strands should fade out gradually rather than stop at a hard line.
- Gaps inside the subject. The space between an arm and a body, or inside a handle, should be transparent too if the background showed through there.
- Parts that should stay. Check that nothing belonging to the subject, such as a thin strap or the tip of an ear, was cut away.
If you are not signed in, the result is a downscaled preview so you can judge it before creating an account. If an edge is not right, select Try another image, pick a different Quality setting, upload the same file again, and compare.
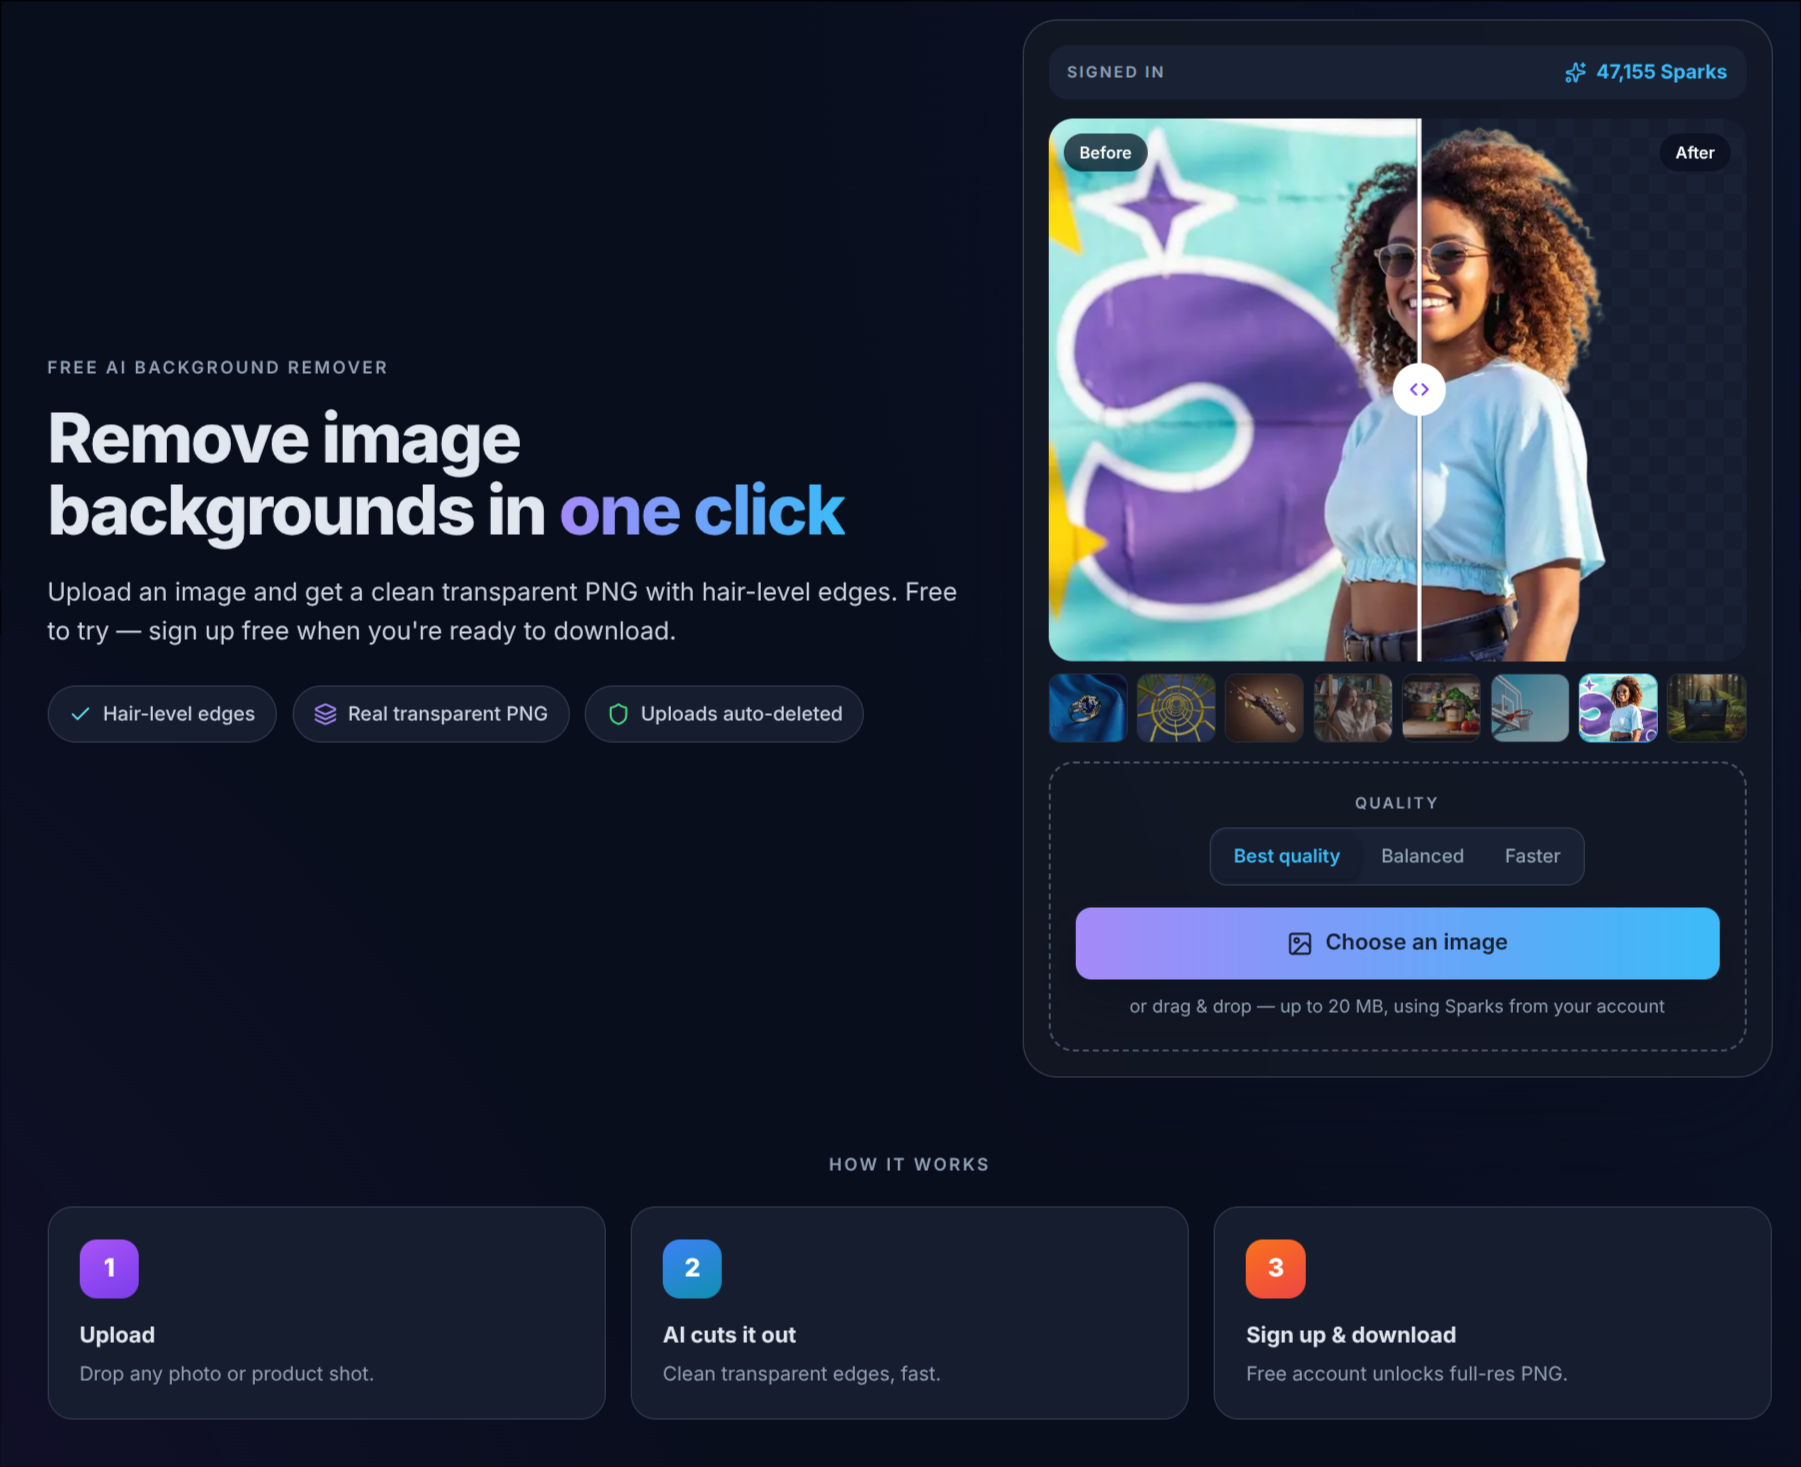
One of the page's built-in examples, with the handle dragged to the middle. On the After side the curls stay intact against the checkerboard, with no trace of the mural around them. This screenshot was taken while signed in, so the panel shows the account's Sparks and the upload hint says each removal uses Sparks from your account.
Hair is the hardest edge to cut, so it is the first place to zoom in. Look for single strands that fade out rather than a clipped, helmet-like outline.
Best quality vs Faster: a worked example
To see what the Quality setting changes, we ran the same product photo through the tool twice: two glass-topped side tables on a plain white backdrop. A white backdrop sounds like the easy case, but these tables are mostly empty frame, so the model has to clear the white inside each frame and behind each glass shelf as well as around the outside.
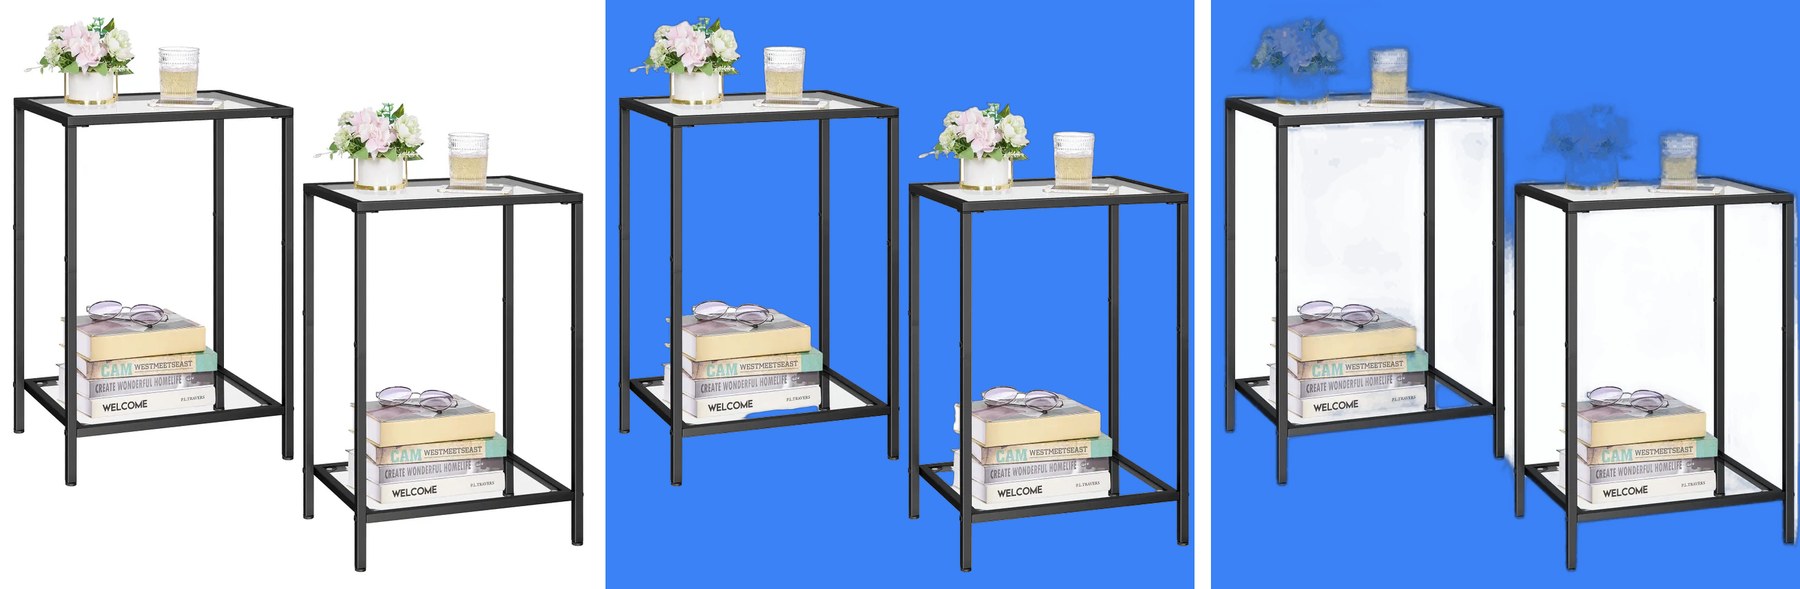
Left: the original photo. Middle: the Best quality cutout. Right: the Faster cutout. Both cutouts are shown over solid blue so every pixel the tool left behind is visible.
What we saw:
- Best quality removed the backdrop everywhere, including the large gaps inside both table frames and the space under the glass shelves. The flowers, vases, drinking glass, books and glasses all kept their full colour. The glass tops and shelves stayed see-through, so the blue shows faintly through them, as it should for glass.
- Faster left large, blotchy patches of the white backdrop inside both frames and a ragged fringe along the outer legs. It also turned the flowers and vases semi-transparent, so they look washed out over the blue. The books and metal frames came through fine.
The lesson is general. If your subject has holes, gaps or thin parts, use Best quality. Check any Faster result over a dark or coloured background before you rely on it, because white leftovers are invisible against a white page.
Step 4: Download the transparent PNG
When the cutout looks right, select Sign up free & download. A free account unlocks the full-resolution transparent PNG, and your result waits on the page while you sign up. If you are already signed in, you will see Download full resolution instead.
To work on the next picture, select Try another image.
Step 5: Place the PNG where you need it
The download is a finished transparent PNG. What happens next is just placing it, and the one rule is to keep it a PNG all the way:
- Slides. Insert the PNG as a picture in PowerPoint, Keynote or Google Slides. The slide's own background shows through the transparent areas.
- Documents. Insert it as an image in Word or Google Docs and set text wrapping so the words flow around the subject's outline.
- Websites and online stores. Upload the PNG as-is. Some content management systems and marketplaces convert uploads to JPG to save space, which fills the transparent area in, so check the published page.
- Design tools. Drop the PNG onto any canvas and layer it over your own colours, shapes or photos.
If transparency disappears at this stage, the image has almost always been converted to JPG or flattened on export somewhere along the way.
Free use, accounts, and Sparks
- Without an account, you can run the tool and see a preview-resolution result. The number of free anonymous runs is capped per visitor and per day. When you reach it, the page asks you to sign up or come back tomorrow.
- With a free account, you can download the full-resolution transparent PNG of your run. The Free plan includes 5,000 Sparks a month.
- Signed-in removals use Sparks, the credits that power everything in SmileToAI. See pricing for what each plan includes.
Common problems and how to fix them
A thin halo of the old background remains around the subject. This happens most when the subject and the background are similar in colour. Run the image again on Best quality, and if you can, start from a higher-resolution original.
Part of the subject disappeared or looks faded. Very thin or see-through parts, such as a glass, a veil or a bicycle spoke, are the hardest for any model to separate. If you used Faster or Balanced, run the image again on Best quality first: in the side-table example above, Faster faded the flowers while Best quality kept them solid. If that does not fix it, crop closer to the subject, or pick an image where those parts stand out more clearly from the background.
Patches of the old background are left inside the subject. Gaps enclosed by the subject, such as the space inside a chair back or between table legs, are where faster models give up first. Switch to Best quality, as in the worked example above.
The background is white again after I placed the image. The file was converted to JPG or flattened somewhere. Re-insert the original PNG and check the export or upload settings of the app you placed it in.
The file won't upload. Check the format and size: PNG, JPG, GIF or WebP up to 20 MB. A large TIFF or RAW file needs to be exported as PNG or JPG first.
What the tool doesn't do
It helps to know the limits before you start:
- One image at a time. There is no batch upload, so a folder of product photos is processed one run after another.
- No new background on this page. The tool gives you a transparent PNG. Adding a colour, a scene or another photo behind the subject happens wherever you place the PNG.
- No manual brush. You can't paint areas back in or erase extra bits by hand. The cutout comes from the model, and changing the Quality setting is the way to get a different take.
Is it private?
Anonymous uploads are stored temporarily to produce your result and expire automatically. When you sign up and claim a result, it moves into your own SmileToAI workspace, where you can keep working with it alongside everything else you create with the AI Image Generator.
The short version
- Open smiletoai.com/tools/background-remover and leave Quality on Best quality.
- Upload a PNG, JPG, GIF or WebP up to 20 MB.
- Check the Before and After comparison over the checkerboard.
- Select Sign up free & download for the full-resolution transparent PNG.
- Keep it a PNG wherever you place it.
A transparent background is just an image whose empty pixels are really empty. Get a clean cutout, keep it in a format that stores alpha, and it will sit naturally on any slide, page or design you put it on.
FAQ
Can I make a background transparent for free?
Yes. The SmileToAI background remover at /tools/background-remover removes the background without an account and shows you a preview-resolution result. A free account unlocks the full-resolution transparent PNG. Signed-in removals use Sparks from your account.
Which file types can I upload?
PNG, JPG, GIF or WebP files up to 20 MB, one image at a time. The result is always a transparent PNG.
Why does my transparent image show a white background?
Usually because it was saved or converted to JPG, which has no transparency. Keep the file as a PNG from download to wherever you place it, and check that the app you insert it into does not flatten images on export.
Which Quality setting should I pick?
Best quality is the default and the one to start with for hair, fur and detailed edges. Balanced and Faster use lighter models that finish sooner, but they can leave patches of background behind, especially in gaps inside the subject, so check their results closely.
Can I remove the background from several images at once?
No. The tool processes one image per run. Upload the next image with Try another image when the first one is done.